Sunday, July 31, 2016

Beauty of the Northwest 2016, Gallery North, Edmonds, WA


Two of my recent landscapes have been accepted in Gallery North's upcoming Invitational Exhibition, "Beauty of the Northwest 2016."


I dropped off my paintings today and previewed the wonderful art that is represented in the show. I saw last summer's show and I am excited to participate in this year's exhibition. The show runs from August 1st through the 30th. The Artist's Reception is on Sunday, August 7 from 1-4 PM. Presentation of Awards is at 2 PM.

If you're in the Seattle area, stop by and check out the beautiful work celebrating the beauty of the Northwest.


Tuesday, July 19, 2016

More Cigar Pochade Boxes

Last month I blogged about some pochade boxes I built using cigar boxes. I built one which I use for watercolor painting and oil painting. Since then I built two smaller ones for compact painting when I do not want to work larger.

Pochade Box for 5" x 7" Panels

Over a week ago I went back to the cigar shop where I bought the cigar boxes. There were new boxes in stock and I picked up four of them. The smallest box measures 6" x 8 1/2" x 1 1/2". I built this one especially for 5" x 7" panels and it's my favorite because of the size. I used it for the first time last Friday evening at Discovery park.


My palette is a piece of hardboard which I conditioned to prevent oil from being sucked out of my paint. Several pieces of Gorilla Tape secure it to the box.


The panel is secured by two brass hooks at the bottom and two pieces of wood at the top. The wood pieces are wrapped with Gorilla Tape to ensure there is enough friction to hold the panel in place. Unlike my other pochade box, I can carry a wet panel inside the box.


I can paint in portrait format and the panel is held in place at the top by a brass clip. I actually have two clips but I found that one is enough to prevent the panel from falling back. The black tab on the panel is made from Gorilla Tape. I paint on panels and I started using these tabs last Spring. The tabs allow me to pick up a wet panel without having to lift it up by the edges. This especially helps when I'm outdoors and I'm putting a panel into my wet panel carrier.


The gap when the box closes resulted from cutting the box so it closes properly with the two brass clips. It's a cosmetic defect but doesn't bother me. So far I'm enjoying this box because of it's compact size. I like working on the 5" x 7" panels as it allows me to create tight, detailed studies. I was inspired by 
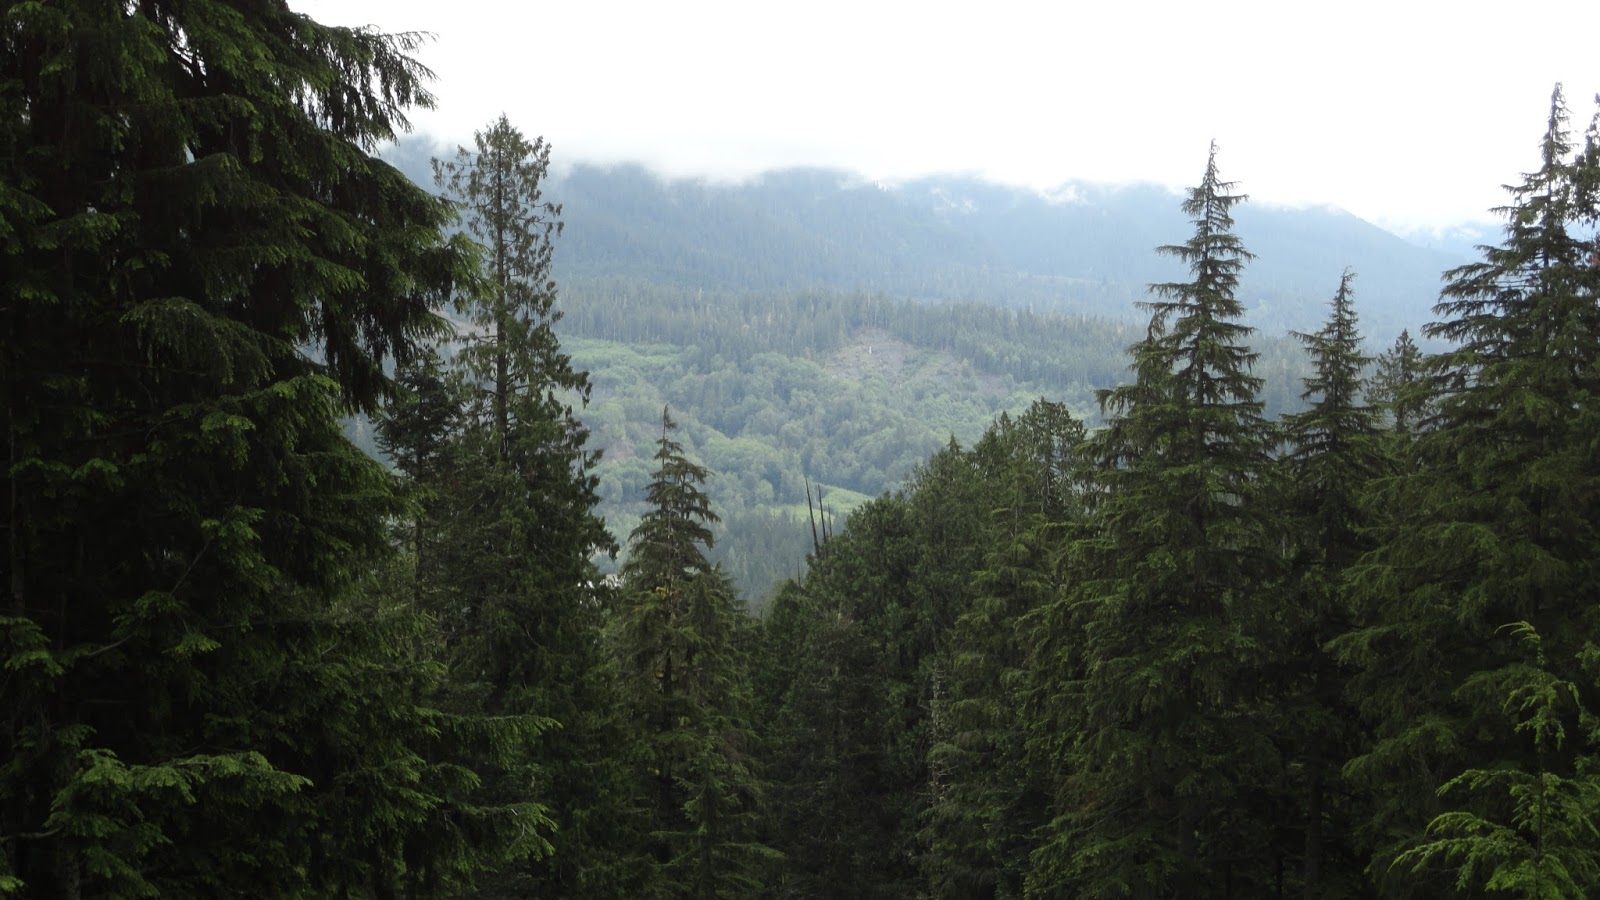
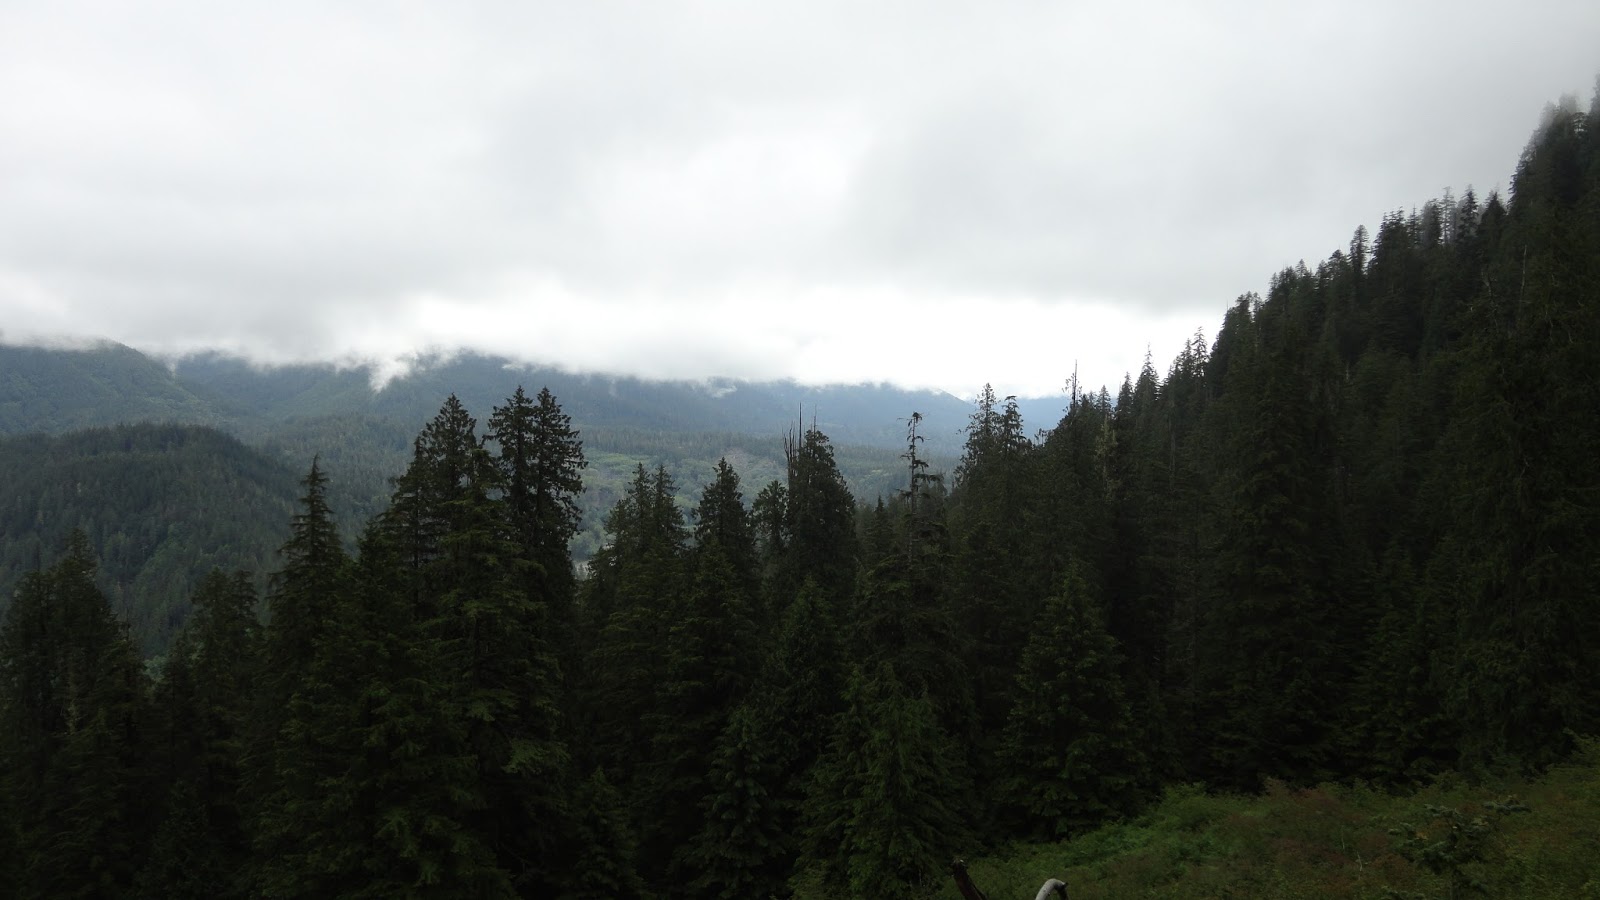
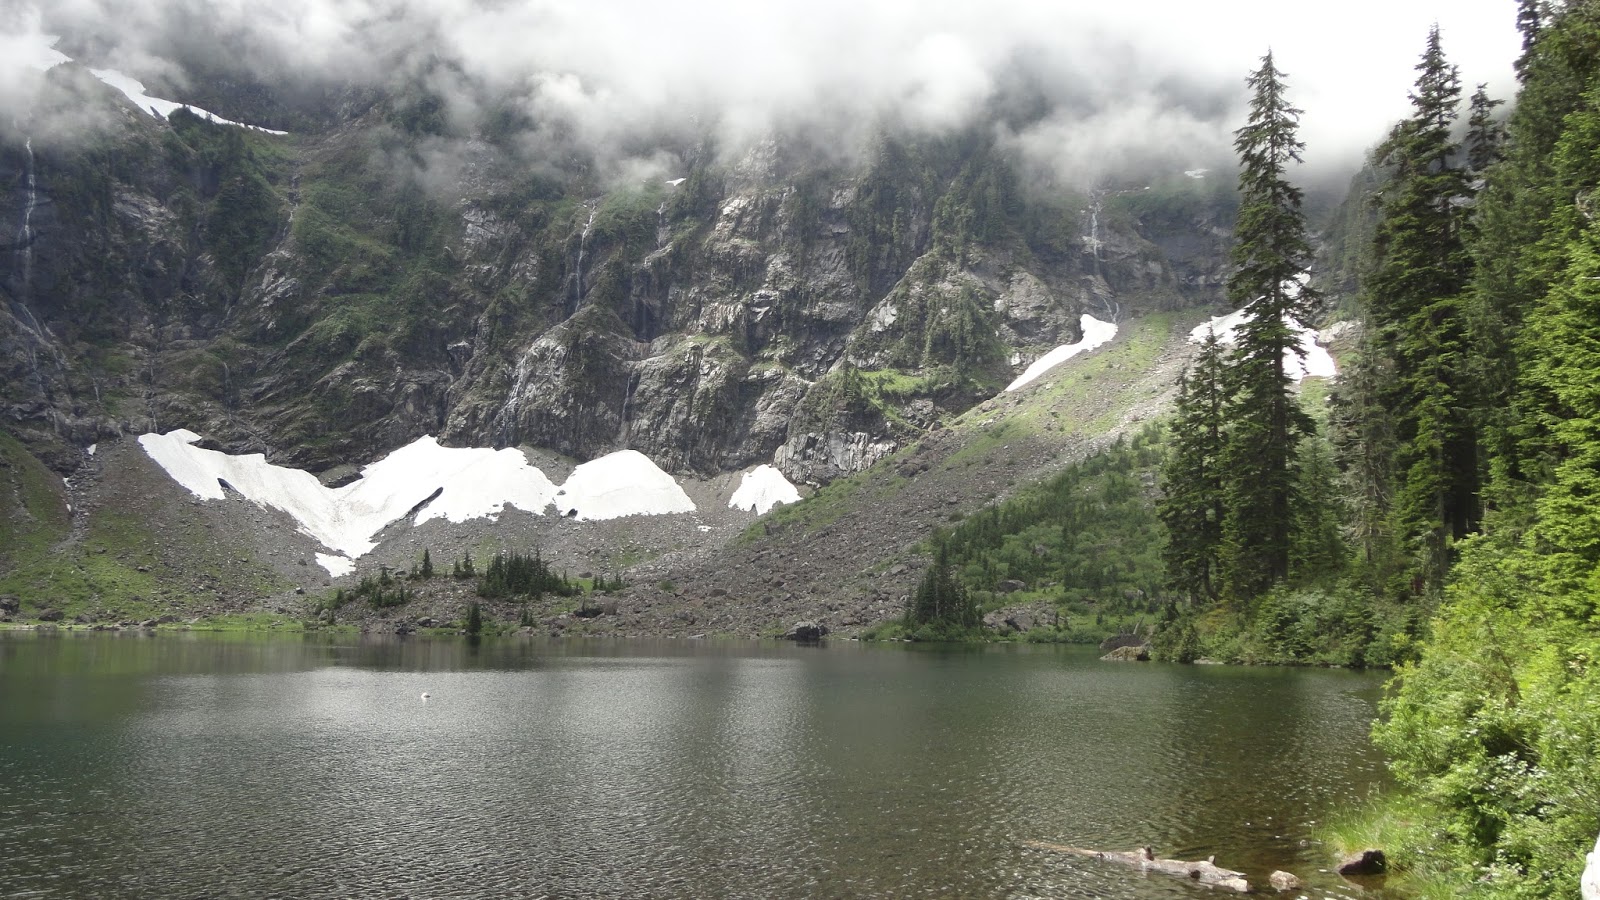
Erik Koeppel who often creates outdoor paintings in smaller sizes. This is a good box to take on longer hikes when you don't feel like carrying a tripod. It's good for working in tight areas along trails and vantage points where you don't have much space.

Small Watercolor Pochade Box

Shortly after I built by tripod box, I fashioned a smaller box which accommodates watercolor blocks/ pads 5 1/2" x 8 1/2" or smaller. I can even secure a small all media sketch book which I did at Discovery Park one evening.


This box measures 6" x 9" x 1 1/2". My case of 12 full pan watercolors fits perfectly( Actually I put in two additional pans in the case, totaling 14). This is a Rublev set but uses the same case as Schmincke watercolors. The four additional pans in the back are secured with Gorilla Tape.


My water jar rig is secured to the side. I can hold this box while standing and paint.


When painting in portrait format I use a bungee cord to secure the pad. However, as my pad uses fewer sheets in the future it may bow. 


You can see how everything fits inside this box. If I want to to use watercolors rather than oils I have all I need. In addition to this I carry a case for my watercolor brushes.

Tripod Pochade Box

This is the box I built which I featured on my earlier posts. It measures 8" x 9"x 1 1/2". So far it has worked perfectly for my outdoor painting needs. It's lightweight, a decent size, and has a low profile. I can easily stow it in any pack.
 The panel holder is one I designed based on the box I made last year. I made this using brass strips and speed nuts. The upper hooks are adjustable and can hold a vertical panel up to 12". Shortly after making this box I realized that the two upper hooks are unnecessary and a central hook will suffice. The palette is masonite which has been conditioned. I built this box to use with a  9" x 12" and smaller panel.

Several weeks ago I decided to paint on 6" x 8" panels in addition to the 9" x 12"s. In order to secure the panels in landscape format I added two hooks at the lower speed nuts. These hooks will also secure a 5" x 7" panel.


A plate with T nut made by Guerilla Painter is attached to the bottom of the box so I can use it with a tripod.

Side Trays/ Paint Box

For my larger box I fashioned two side trays out of a smaller Oliva cigar box. Each tray attaches to the side of my pochade box.

I used to store my short-handle Rosemary brushes in this box and I did my best to stow it in my pack with the bristles pointing up. However I discovered that the bristles on my rigger were getting bent. Recently I bought another bamboo brush roll specifically for painting outdoors. Now I can carry my long handle brushes with me too. 

I also used to carry my paints in a freezer bag which I did not find ideal because of it's bulk. My side trays perfectly hold 8 tubes of Rublev oil colors in their 50 ml tubes.

The plein air painting colors I use for most landscapes are Lead White # 2, Blue Ridge Yellow Ochre, Naples Yellow Genuine, Venetian Red, Italian Burnt Sienna, Ultramarine Blue (Green or Red Shade),Roman Black Earth, and Cypress Burnt Umber Warm. Sometimes I'll carry a tube of Nicosia Green earth or Cobalt Chromite Blue (Cerulean). 
I secure the box with a bungee cord, put it in a freezer bag in case a tube leaks, and I carry it in my pack next to the tripod pochade box.

So far I'm very happy with my cigar pochade boxes. I made all three with less than $30 in supplies and it was fun making them. Lots of blogs and articles on the internet discuss making pochade boxes from cigar boxes. If you're looking to start painting outdoors, do not wish to spend a lot of money, or want to have a light weight/ low bulk kit, I would recommend building a cigar pochade box. As I mentioned before I may buy an Open Box M or Easy L in the future. Right now these boxes work perfectly for me and I saved $180- $231.


Tuesday, July 12, 2016

The Lake 22 Painting

A few days ago I wrote about my hike to Lake 22. Today I will discuss the painting that resulted from the hike.

I had walked around the entire lake exploring and scoping out potential areas to paint from. Some areas were better than others for setting up my tripod though this was limited to a few spots along the lake. The board walk around parts of the lake was there for a reason. In these areas the ground was soaked from snow melt trickling into the lake. Other spots were really rocky or on a slope. Areas that were ideal for setting up didn't have any views I was crazy about. What I wanted was to include the mountain that rose above the lake.

I walked back around the lake and came to a spot I liked. It was about 10 meters off the trail going down towards the lake and involved carefully stepping over rocks. Mosquitoes were in this area but my insect repellant kept them at bay.

I stood there observing the scene before me. This is what I wanted to paint. During this time the clouds were drifting past the mountain, obscuring it and revealing it at times. I started to photograph the area to use later as reference photos.


I watched as the clouds exposed the mountain in various parts and I saw a waterfall cascading down a cliff to my left.

I was inspired by the scene before me and it kept getting better. As I watched the clouds drift I could see exposed areas of bright green vegetation on the mountain itself in places. This was a detail I could use in my painting.


The best part of observing the scene was when the clouds were illuminated, contrasting against the dark trees on the cliff to my left. This was where the waterfall was.


Suddenly the area at the top of the waterfall was glowing in light, the clouds illuminated by the late morning sun. I had the subject for my painting at this moment. It was going to be about the light coming through the clouds, hitting the cliff with waterfall. During this time a couple came and sat on a large rock to my left. I wondered if they were sitting there, awed by the scene as much as I was.


I decided not to paint because I felt it was time to head back. I had never painted a mountain scene from life and the scale of the mountain itself was intimidating. I was trying to figure out how I could put all this on my 9 x 12 panel. I knew I could shrink everything down, but if I wanted to include the top of the mountain in my painting I would doing a lot of looking up and down.

If I had a vantage point that was further away that would have been ideal. However in outdoor painting, situations and places to set up are seldom ideal. You just need to work with what nature provides you. I learned that it's best to paint something when you're on location, even though if it's not the vision you had been seeking. Now I carry a small sketchbook to help me study a scene in case if I don't paint.

The studio painting

I had a clear vision of the subject for my painting and how I was going to work out the composition. I decided on a smaller panel which measured 14 by 18. Working on this smaller scale would force me to fit everything in my composition onto the panel. This is what I'm trying to work on with my landscapes rather than make every large in my painting.

I did use photos as a reference, but I did not slavishly copy them. The photos helped me remember details of the scene such as the landscape itself. I worked from multiple photos, using them to put together my composition. Most of all I used memory and invention to help convey what photos can not. The photos I took do not accurately show the light I was awed by. Nor do they show the immense scale of the scene before me. In order create my painting I had to inject the drama, light, and awe that my photos do not show. This is the difference between a photo and a painting. A camera can capture a scene, though deficiently, but it can not express the feeling we had as if we were actually there.

On day one I began by toning the panel with a wash of French Raw Sienna which I wiped off leaving the ground stained. Then I drew my composition with a mixture of Ultramarine blue and Burnt Sienna. At this time I established my darks.

For the next few hours I began introducing local color as I developed the painting. This is what I had at the end of day one. As you can see I left a lot of the French Raw Sienna ground showing in places.
The end of Day One

Day Two

Day Three

Day Four

At some time after day Four I forgot to photograph my process. I started the painting on Monday June 27 and finished it Sunday July 3. During this time I also spent several evenings sketching and painting at Discovery Park. On Friday July 1 Cheryl, a friend of ours, and I hiked up to the water slides at Denny Creek.

Even though I had finished the painting a week before I went in a reworked a few areas, especially the clouds. The other day I decided it was done.
Clearing of the morning clouds at Lake 22, Oil on ACM Panel, 14" x 18"

As you can see I have people in my painting. A couple based on the couple I saw at Lake 22. In addition if you look at the path leading into the evergreens I have also included other hikers. I do this for several reasons. First is based on being inspired by the landscape painters I study. The Hudson River School painters included figures in their paintings who are dwarfed by the landscape they inhabit. Contemporary painter Erik Koeppel, whom I greatly admire, is also influenced by the Hudson River School and he includes figures in his landscapes. The figures help give a sense of scale as they relate to the landscape. 

Second the figures in my paintings share a connection with the landscape that surrounds them. We had hiked to Lake 22 because we appreciate the beauty that nature offers us. We can look at photos of these places, but being there in person is an experience that is extraordinary. These places are treasured whether it be Lake 22, Snoqualmie Pass, or Discovery Park. Similar experiences of awe and the appreciation of nature in America's West and beyond inspired 19th century artists like Albert Bierstadt, Frederic Edwin Church, and Thomas Moran. Through painting they were able to bring back their visions from remote places to their audiences back east.

Now that I have finished my first landscape studio painting of the summer, I am on to other ones. I will continue to paint and sketch outdoors, honing my skills. At the same time I will study the artists I admire. I have other hikes planned and paintings will be based on the landscapes I have observed.


Sunday, July 10, 2016

The hike to Lake 22


Over a week ago I made a trek into the wilderness of Washington's Cascades to do some plein air painting. I planned to gather material for a studio painting. 

Last Summer as my interest in landscape painting was being rekindled I wanted to take a hike to one of Washington's mountain lakes. I admired the epic mountain landscapes of Albert Bierstadt, especially because my parents had a reproduction of his painting depicting Mt. Corcoran since 1984. 


This painting hung in our living room above the sofa in every house we had lived in since that time. As a child I would stand up on the sofa and gaze at the painting. I was awed by the beauty of the landscape and it's mysterious quality. As I grew older I still appreciated the painting but I had no idea who painted it nor what mountain that was depicted.

Three years ago my appreciation for landscape painting grew. I was especially inspired by the Hudson River School painters. During this time I discovered the artist who had painted Mt. Corcoran. As I explored other paintings by Bierstadt I noticed that he had common stylistic elements in his paintings of mountain lakes. I was intrigued by the drama, realism, light, and invention that characterized his work. 

I wanted to make a painting inspired by Bierstadt. After some research I saw that Washington has many mountain lakes which can be easily hiked to. One lake that looked really good based on internet photos was Goat Lake. To me it looked like the perfect place for an Albert Bierstadt inspired painting. I planned to hike there with my nephew but we ended up going to Snow Lake instead. I never did make a lake painting last summer but I did see some of the inspiring hikes that Washington has to offer.

Lake 22, June 25, 2016

Now that I had my plein air painting kit and made a few paintings outdoors, I was ready for painting on a hike. A friend of mine had hiked to Melawaka Lake the week before and it's a hike I wanted to try. She's an experienced hiker and she told me the trail was pretty good for it's first half. After that the trail was obscured by snow up to the lake. I decided to postpone the Melawaka Lake hike. I saw that Lake 22 was a decent hike with nice landscapes and I decided to try that one.

According to All Trails the Lake 22 hike is rated as moderate, a 6.7 mile roundtrip, and has an elevation gain of 1548 ft. That was similar to the Snow Lake hike. I set out early Saturday morning and I reached the trailhead 5 minutes to 9 AM, snagging the last parking spot. I was prepared for the hike, bringing enough water, snacks, lunch, and my painting gear. My pack weighed 29.5 lbs.


I started the hike at 9 AM. It was a nice hike with many inspiring views. Most of it was through old growth forest. The trail offered glimpses of Twentytwo Creek and it's many falls. There were a couple of nice vantage points off the trail to view the falls which I may try for future paintings. Unfortunately I did not take any photos of the bigger falls.


Eventually the forest opened up to a few switch backs which offered views of the valley behind me. At this point a pika came out, a foot away from me. 


The trail itself was rather rocky most of the way. Only a few areas were clear. This is a trail where you really have to watch your step. I read about people rolling their ankles on the rocks. These photos show some of the roughest areas on the switch back. Down in the forest their were areas that had been cut through rock. Many spots were wet because of snow melt crossing the trail. 


At 10:25 I reached the lake. It was a pretty short hike. With Snow Lake you get to the top of a ridge overlooking the lake, then spend another 10-15 minutes walking down switchbacks to it. Not with Lake 22. 

When I arrived at the lake clouds obscured the mountain surrounding it. You can walk the circumference of the lake via boardwalk and trail which is nice. It might be a mile around the lake.


The area opposite of the footbridge is a huge rock field that begins at the lake's shore and slopes up hill. The incline is much steeper than the photos show. My guess is that it's about 45-65 degrees. I read online that climbing this area is not recommended due to possible rock slides. I did see three guys venturing up to one of the snow caves. These masses of snow are huge. Unfortunately I wasn't able to photograph one of the guys to show the scale of these things. I remember that he didn't have to crouch to enter the snow caves.


I walked around the entire lake, deciding where I should set up my equipment. I spent over an hour and a half at the lake itself. 


Here is a detail from the painting inspired by the hike. Next time I will discuss my creation of the Lake 22 painting.